At Mainland SuperVac, we handle difficult drainage issues with precision and efficiency. We take pride in this.
Recently, we tackled a blockage in a parking lot drainage system that required both our video inspection equipment and hydro excavation services.
Here’s a detailed look at how we resolved the problem step-by-step.
Step 1: Locating the Blockage
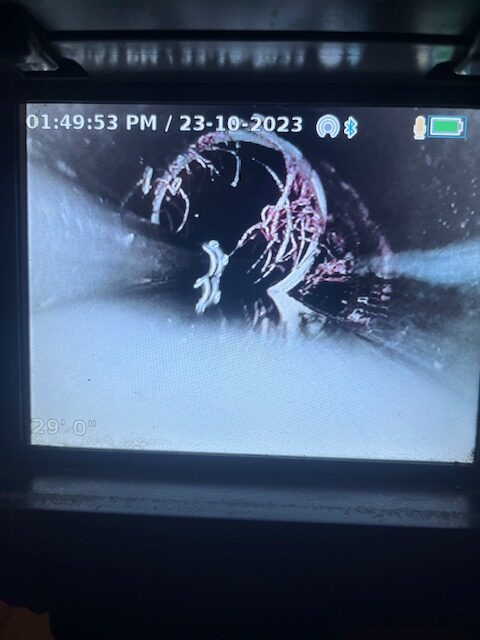
We setup our advanced video inspection equipment to view the blockage.
Using the beacon on the camera, we were able to locate the exact position of the blockage.
Our HD camera allowed us to navigate through the drainage pipes and find the problematic area accurately.
Step 2: Marking and Preparing the Area
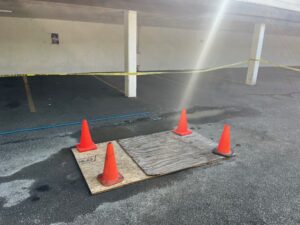
Once we found the blockage, we made a marking of where to dig above ground. This precise marking ensured that we knew exactly where to cut and hydro excavate to access the pipes and problem.
Step 3: Cutting and Removing the Asphalt
Next, we set up our asphalt saw and carefully cut and removed the asphalt to expose the area where we needed to work.
This step requires precision to ensure minimal disruption to the surrounding area.
Step 4: Hydro Excavation to Expose the Pipes
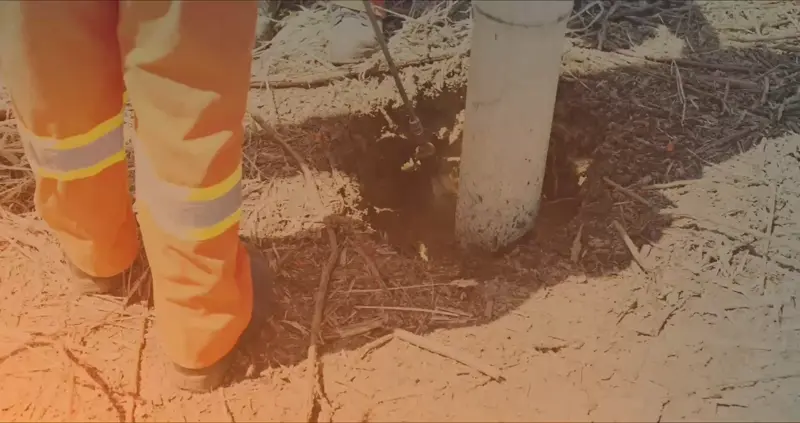
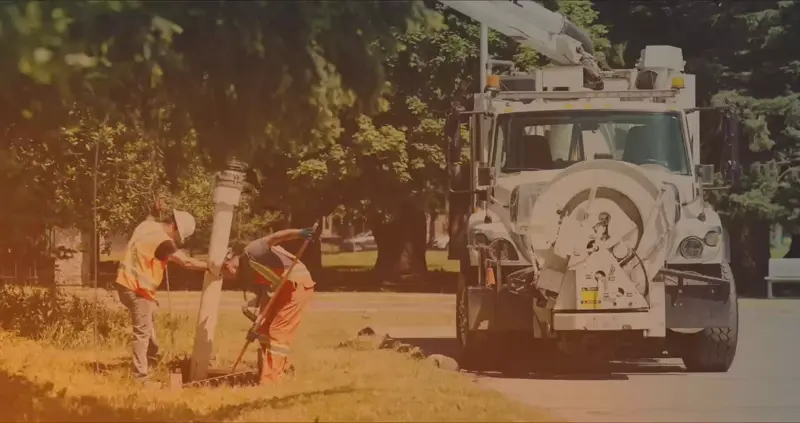
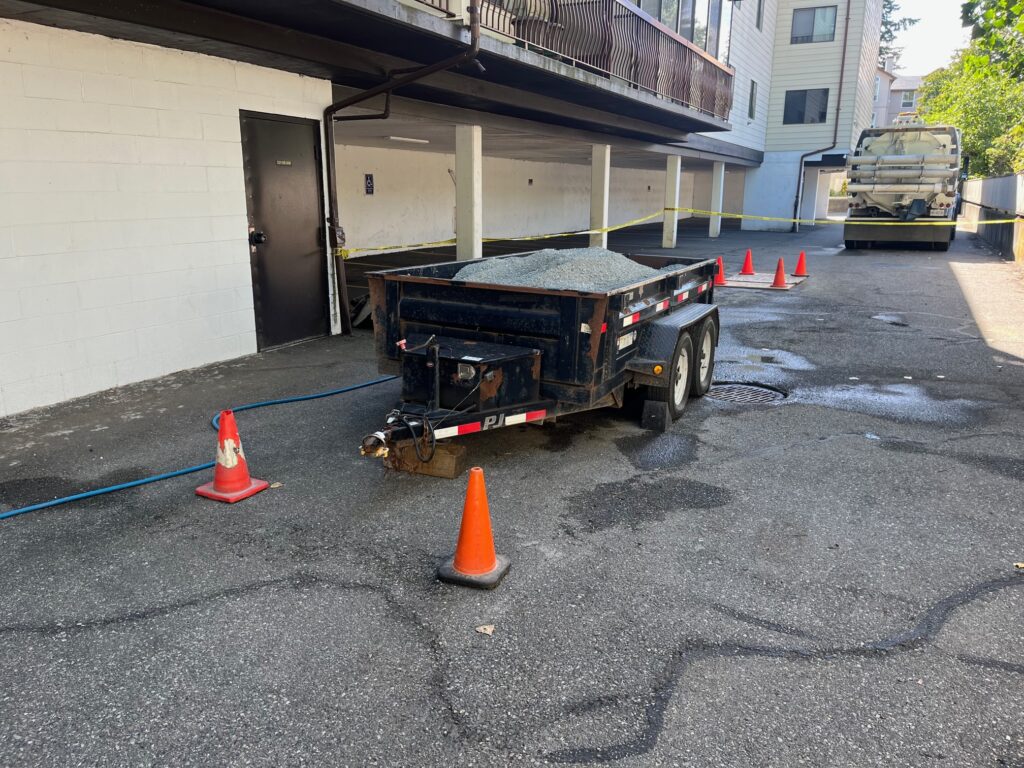
Once the asphalt was removed, we could use our hydro excavation equipment to safely expose the pipes.
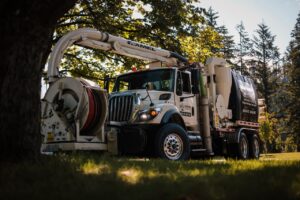
Hydro excavation is a non-destructive method whereby we use high-pressure water to break up the soil, which is then removed by a powerful vacuum generated by our trucks. This technique ensures that we can access the pipes without damaging them.
Step 5: Removing the Cause of the Blockage
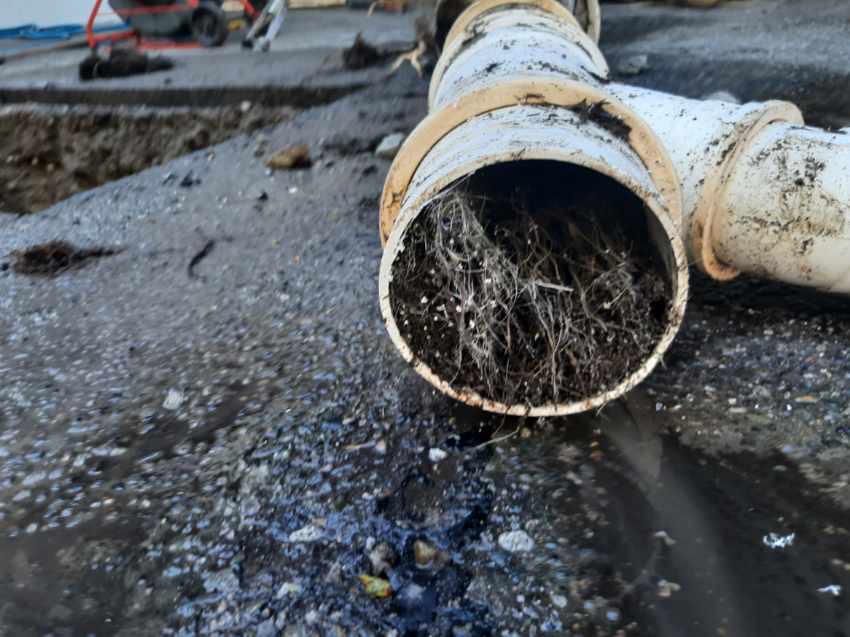
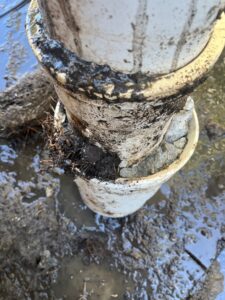
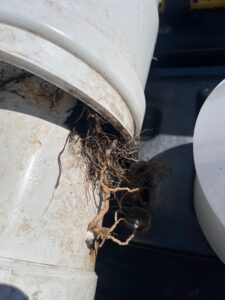
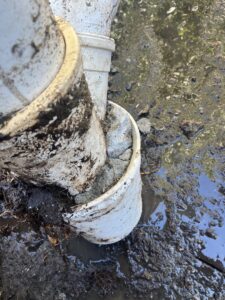
As the pictures show, the gap between the pipe joints was allowing roots to grow into the pipe. This root intrusion was the primary cause of the blockage, obstructing the flow of water and causing drainage issues.
Step 6: Installing New Pipes and Couplers
To resolve the issue, we removed the damaged pipes and installed new pipes and couplers. This replacement ensured that the drainage system was restored to optimal functionality and prevented future root intrusion
Step 7: Restoring the Area
After installing the new pipes, we supplied and installed road mulch and compacted the area to restore the surface. This final step ensured that the area was safe and functional, with minimal evidence of the excavation work.
